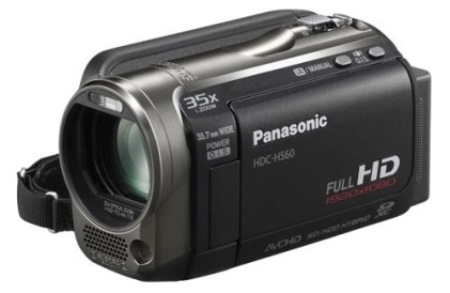
It’s a potential match made in heaven. You have a great camcorder and want to shoot videos and show them off to people in high resolution HD. And you have YouTube which now caters for uploading HD videos. No more grainy poor quality pixelated images like the ones you see on TV showing people’s mishaps, you now have the means to shoot a great quality video and then share it with your friends and admirers (or make new friends and admirers) on YouTube. Your gateway to the next viral video perhaps? Fenton!

YouTube’s HD service has been on for quite a while now so what’s stopping you? Most HD camcorders record videos in different formats and settings. What ones should you use and how do you upload them? To upload HD to YouTube in the best quality, I suggest you use these settings:
MPEG4 (DivX, Xvid, H.264) format
1280×720 resolution
128k Mono or 320k Stereo MP3/AAC audio
24,25 or 30 frames per second
No more than 1GB file size and 10 minutes maximum duration
Unfortunately, camcorders don’t always record in MPEG4 format. The HD videos may come in AVCHD (mts or m2ts), TS, TP, TRP, MOD, TOD, or MKV formats. These cannot be directly uploaded to YouTube HD. Consequently you will need to convert them to MPEG4 format that meets the specifications set out above. But wait! YouTube will also accept .AVI .MOV and .WMV formats too. If your camcorder can record in any of these formats you can upload directly.
To convert to an accepted YouTube format you can download any number of video converter tools. Go online and read what people say about them. Of course you’ll need to connect your camcorder to your PC, but on most camcorders there will be instructions that tell you how to do this. You may even have some video conversion software tools on a CD-Rom that came with the camcorder.
Once you’ve converted you’re ready to start uploading. But do you have a YouTube account? If you don’t already have an account, then you will need to register for one. When you have registered, you will be sent a confirmation email. Read this email and click the link inside. This will then let you log onto your account. Once you are logged in, it will then be possible to upload your videos.
Click on the “Upload” button in the upper-right-hand corner of a YouTube page. Then enter as much information about your video as possible. This is really quite important if you want your video to get noticed and come up in people’s searches etc. Include the Title, Description, Tags, and Category.
Next up decide if you want your video set to Public or Private. This is just a question of whether you want to restrict the viewing of your video to those you select, or if you’re happy for anyone and everyone to view it.
Click on the “Upload a Video…” button and then in the next window, click on the “Browse” button to browse for your video file. Then select the file you want to upload.
Click the “Upload Video” button- then sit back and wait. It can take from a couple minutes to almost an hour for your video to upload to YouTube depending on how long your video is and the format and quality you’ve selected.
Once you’ve uploaded it, copy the URL and send it to your friends to get some early viewings of your video. Make sure that you ask them to put comments (preferably positive ones!).
Finally, your video is a window for people to see your work and artistic creation. Consequently it’s worth only putting up your best work. In that way you can build up a following and a reputation for quality that will have people coming back for more. And who knows, you may be well on your way to having the next viral video!


