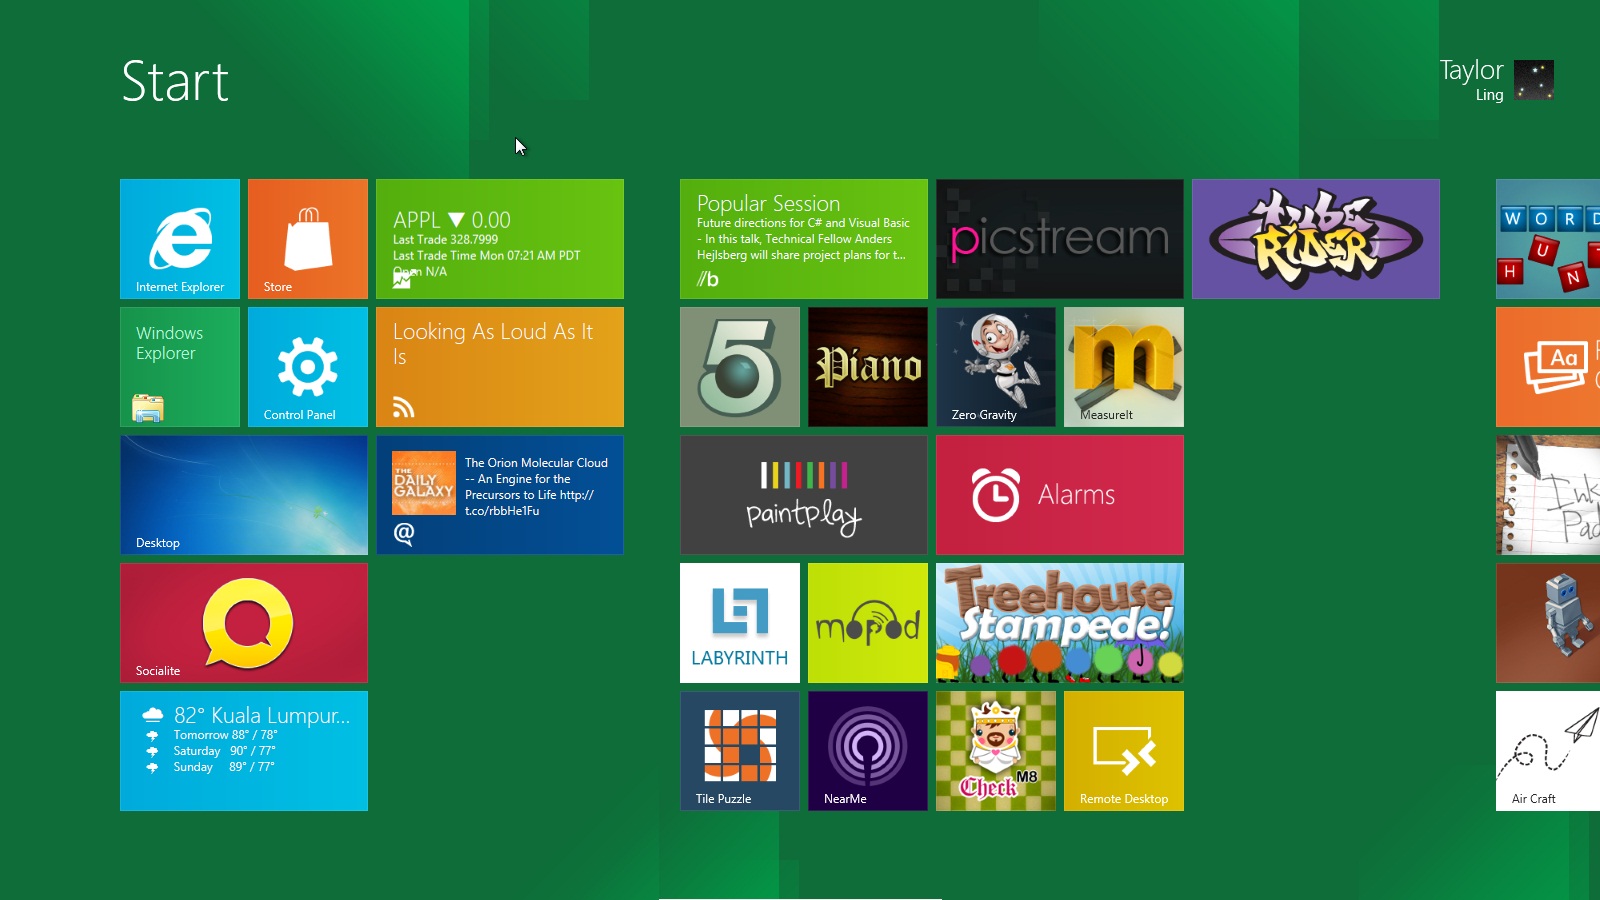
Windows 8, Microsoft’s latest OS, is currently free to try and is available for developers as a preview. Windows 8 is highly inspired by its mobile cousin Windows Phone 7 and uses the same UI style called Metro. It’s not just about the UI, but also the work that has gone into creating a new way for developers to create Windows applications using even web technologies like HTML5, CSS3 and JavaScript. Nearly every corner of the Windows 8 has been touched up, and it shows right from the boot. The Windows 8 Developer Preview doesn’t feature classic Start Menu, instead it launches the Metro UI. The latest iteration brings with it a whole slew of design changes that hope to enhance the functionality of Windows as an OS.
Installation
Installing Windows 8 is very straight forward. Download the ISO image from here. You can mount ISO within Windows 7 itself and upgrade directly to Windows 8. The advantage of this is that you’ll have all your applications and settings migrating directly to Windows 8 and these will be accessible directly from within the OS. You can also Use Microsoft’s own Windows 7 to USB tool. Point the exe file to the location of the ISO file and create a bootable USB drive with Windows 8. Alternately, you can also burn the ISO file to a DVD and use that to install the OS.
The installation process is identical to Windows 7’s and all you need to do is keep clicking next at each question. During the installation, you’ll be presented with an option to customize the features; don’t worry about this unless you’re concerned about your privacy. The settings provided will allow you to customize the way your OS installation sends data about your usage to Microsoft. Installation time of Windows 8 is significantly faster than the previous version of Windows.
After installation you’ll see a start screen where you get to choose the OS you want to boot into. Windows 8 Developer Preview is usually set as the default. This is alright if you’re going to use Windows 8 as the default OS, but if you are regular with Windows 7 then you need to set that as default one. This is because if you get to the Windows 8 boot screen and then boot into Windows 7, your system will reboot and only then boot into Windows 7.
Working with Metro UI
On boot up, you’re greeted with the Windows Metro UI home screen. This UI is actually quite sufficient to manage your day to day PC usage. The desktop is still present and can be accessed using the Desktop tile. This home screen works pretty much like the home screen on any Windows Phone or mp3 Player. Any time you hit the Windows key on the keypad, you will be presented with the Metro UI, hit that key again, and you will return to what you were doing previously. The standard Windows 7 shortcuts still work. The Aero Flip 3D using ‘Windows + Tab’ has now been modified to present you with a shuffling animation.
Multitasking
Windows 8 now has a different take on multi tasking, unlike Windows 7, pressing the Windows key now suspends the active application you were working on and presents you with the home screen. These suspended tasks are still present in the background and consume RAM, but don’t consume CPU resources. Opening the task manager will present you with a list of the running and suspended apps. You can choose to suspend those that you wish or you feel are consuming too many resources.
Task switching, while it can be done via Alt + Tab or Windows + Tab, can also be done via a mouse or touch input. If you bring your mouse to the extreme left of your screen and click, you will switch apps. You can also click and drag the applications out. If you pause with the application partially dragged out, you can pin it to the side of the screen as a vertical panel and still continue to work on your other apps. This is especially useful if you want to, say; keep track of your tweets or stocks while working. You can also click and drag apps and then drag them back to the left side and drag them out again to shuffle through all the active apps. ‘Prima Facie’, this may sound very complicated, but it’s actually very fast and intuitive once you get the hang of it.
Mount Disk Images
Windows 8 has inbuilt ISO file management software, which is quite useful. Very simply, right click on an ISO file and select mount to mount the image to a virtual drive and right click on the virtual drive within Windows Explorer and eject it to un-mount it.
Setup a Virtual Machine
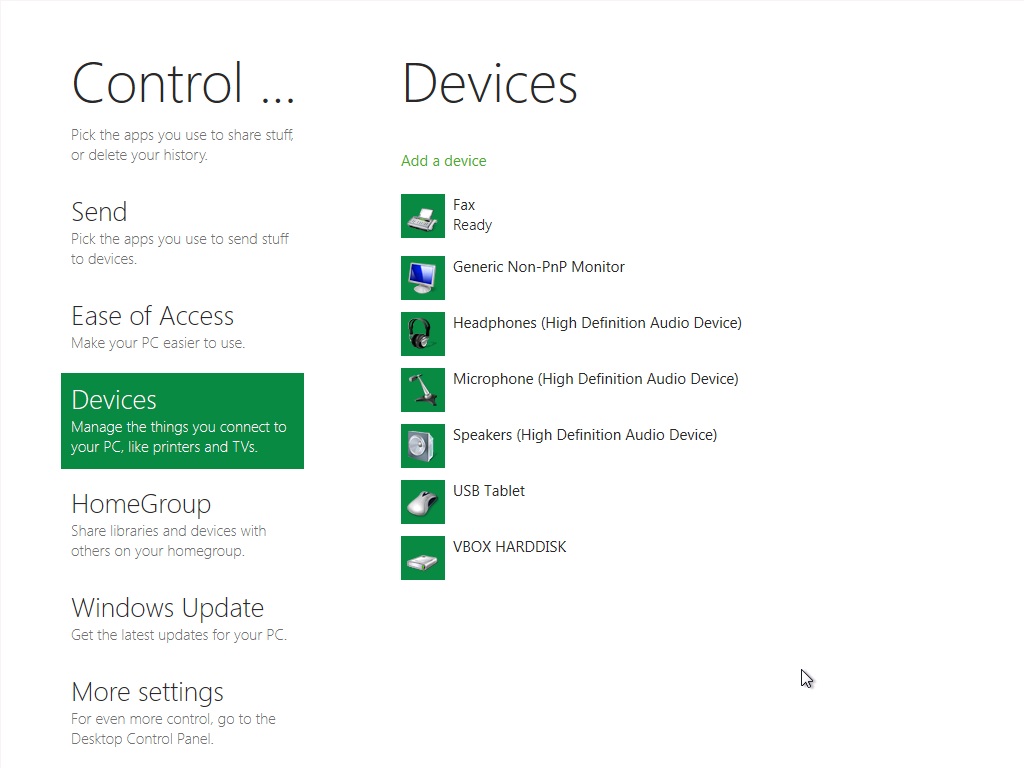
The developer preview has inbuilt virtual machine system for creating and managing virtual machines called Hyper-V. it is not enabled by default, to enable it, open windows explorer by hitting Windows + E and selecting Open Control Panel. Alternately, you can open the control panel via the Metro interface and select more settings. Navigate to turn windows features on or off under Programs and features, enable all features of Hyper-V in the dialogue that pops up by checking the box marked Hyper-V and restart your system. Hyper-V core is now enabled only on certain builds and CPUs that support virtualizations, so make sure that any such CPU features are enabled in the BIOS. If the installation was successful, you will see Hyper-V Manager and Hyper-V Virtual Machine in the Metro UI.
Log on
Windows 8 gives users the option to log on using a four digit pin or use a picture password. To enable this enter the control panel then select Users > your user name > Create a picture password > or Create a Pin. When you create a pin, you’ll be able to log in using that four digit pin. This is handy but not recommended for security reasons. The other alternative, a picture password, requires you to select a picture. How you interact with that picture using taps, straight lines and circles defines your password. This is not of much use to a desktop user, but it’s useful if you are running Windows 8 on tablet. You can log in using your Windows Live ID and password to get personalized notifications on the start Screen.
Meet the Ribbon
Microsoft has ported the ribbon from Office 2010 to Windows Explorer. This is very handy but can be cumbersome on laptops and notebooks where viewing areas come at the premium. To minimize the ribbon, simply right click on the menu bar and select Minimize the ribbon, repeat same process to enable. The title bar also has been enhanced a bit. The left side of the title bar has buttons for creating a new folder, viewing folder into, etc. you can also add extra buttons, if you so desire by clicking on the small arrow right next to the properties button on the title bar.
Internet Explorer 10
The developer preview features Microsoft’s touch version of IE10 in the Metro UI as well as a desktop version. The touch based IE10 has a new UI where the controls are at the bottom of the screen. Normally, these controls are not visible and you need to right click to access these features, including the tab bar. Touch based IE doesn’t support flash or WebM at this stage and if you are using it a lot, you might have trouble viewing certain sites. This can be little frustrating at times, but there is a button present at the bottom right of the address bar, clicking on which will give you the option of opening the link in the desktop browser.
Uninstall Windows 8
Finally, after you’ve finished messing about with the OS and have decided that you prefer sticking with your previous OS for now, all you have to do is boot into the OS of your choice and delete the Windows 8 partition. In windows 7, you press the Start Button, search for disk management and delete the partition from here.


